Prepare the image
Use a clear image with one main subject, useful contrast, and as little background clutter as possible.
Practical tutorial
How to use image to obj online is straightforward when you prepare the source carefully, choose a clear subject, and review the resulting geometry before using it in a 3D workflow.
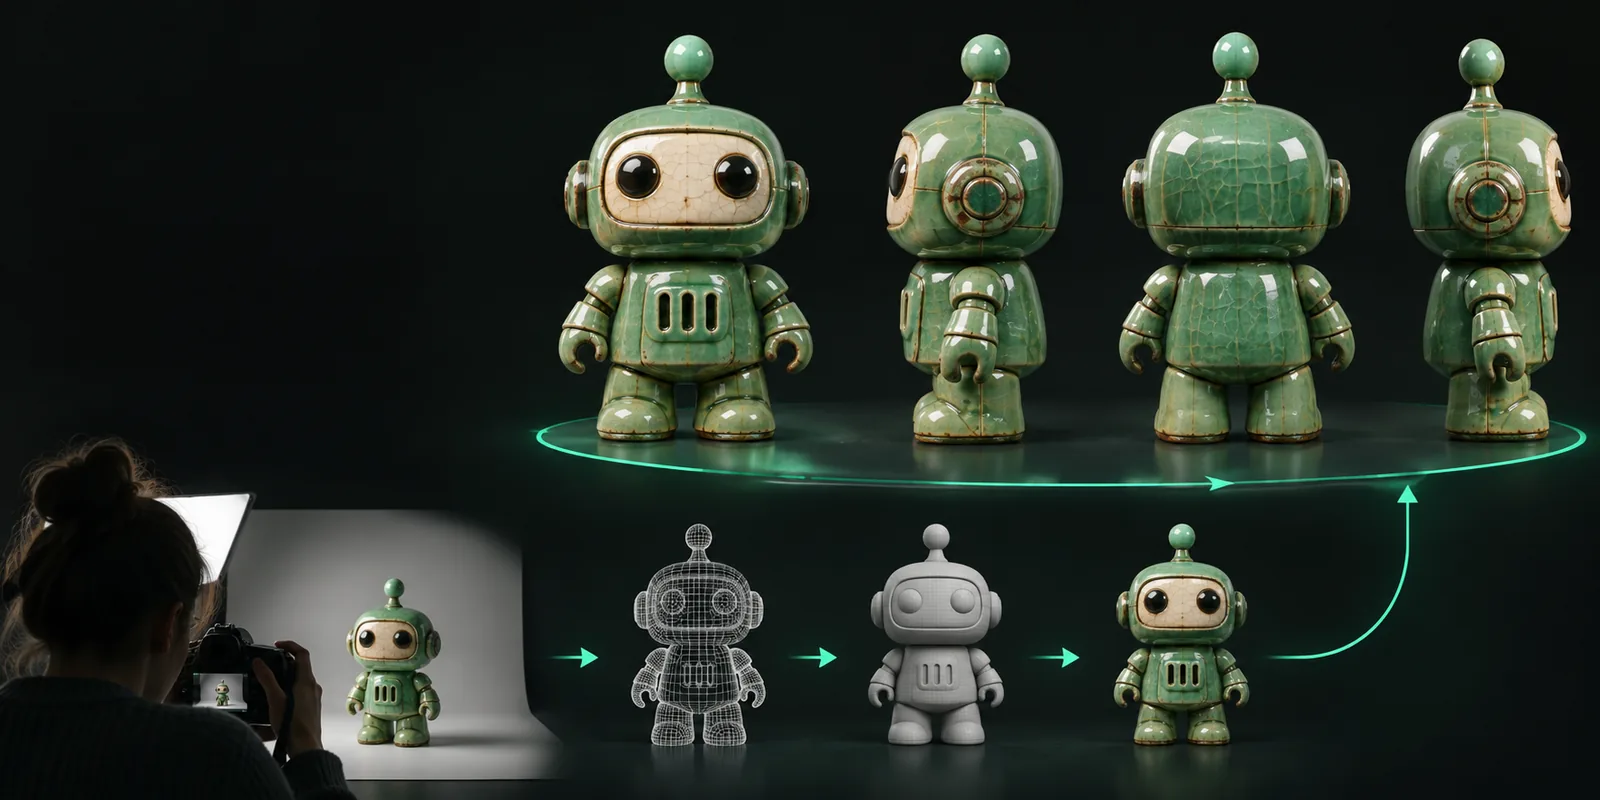
Follow this repeatable sequence when turning a reference image into an OBJ file. The same process works for a quick test and a more deliberate production asset.
Choose a sharp image with the main object separated from its background. A front, side, or three-quarter view is easier to interpret than a crowded scene, and even lighting helps preserve the visible shape. Crop away unrelated objects before submitting the file.
When the interface offers a prompt or description, identify the subject and the qualities that matter most: approximate proportions, visible details, material cues, and whether the background should be ignored. Keep the request specific without asking for details the source image cannot show.
Open the output in a compatible 3D viewer or editor and rotate it around the full model. Look for holes, stretched faces, thin areas, detached parts, or a back side that does not match the subject. Keep the source image and output together so you can compare them while deciding what to revise.
Use a clear image with one main subject, useful contrast, and as little background clutter as possible.
Upload or pass the image to the conversion workflow, then state the object and the visible result you want.
Open the OBJ, rotate it, compare it with the reference, and note any geometry that needs cleanup.
You do not need a complicated setup to begin, but a few preparation checks make the result easier to judge and improve.
Avoid images where several subjects overlap.
Use a file you can open and verify before submitting.
Flat, blurry, or heavily obscured images provide less useful information.
The viewer helps reveal problems that are not obvious from one angle.
Useful when the workflow accepts a prompt or instruction alongside the image.
This route focuses on preparing JPEG files and choosing a suitable reference before conversion.
Use this guide when your source is a PNG and transparency or edge detail matters.
This page explains how AI-assisted conversion differs from a basic file-format change.
Use these quick checks to diagnose the most frequent problems before assuming the conversion itself failed.
When the outline is hard to separate, the resulting mesh may merge the object with nearby scenery or lose thin edges. Replace the image with a tighter crop, stronger contrast, and more even lighting.
A single image cannot reveal every hidden surface, so the unseen side may be incomplete or uneven. Compare several rotations and treat the output as a base for cleanup rather than assuming every face is accurate.
Check the import scale, camera view, normals, and material display before judging the mesh. A model can appear empty, dark, or inside out because of viewer settings rather than the conversion alone.
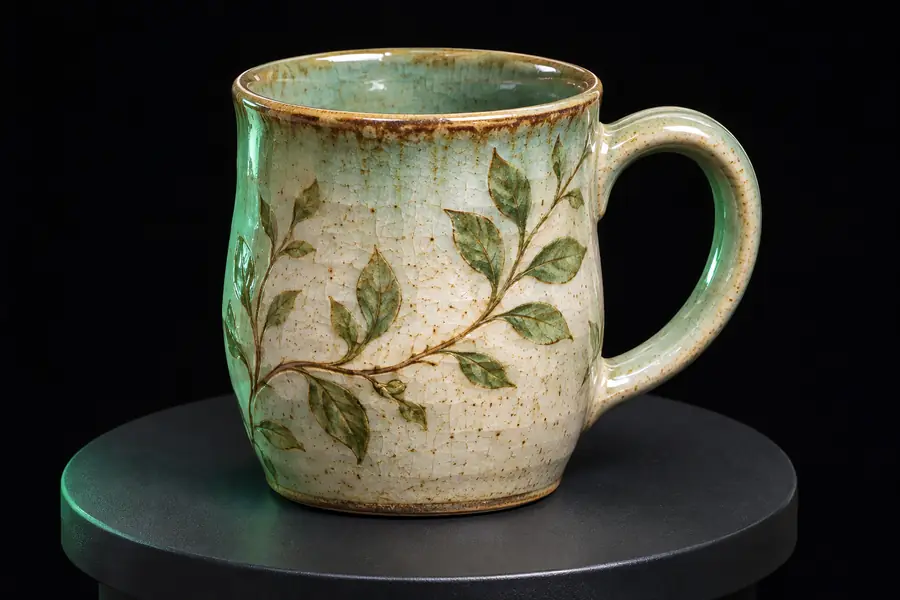
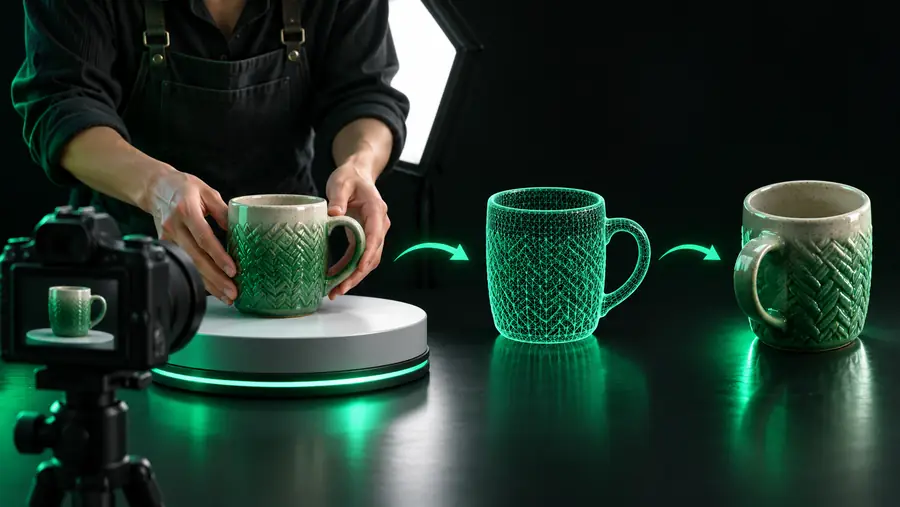
Once the basic workflow is reliable, use a more deliberate reference and review process to make the output easier to edit.
Drag the divider to compare the source view with a more carefully reviewed result.
When your image is ready, send it through the conversion workflow and use the resulting OBJ as a practical starting mesh. Keep the original reference nearby so you can validate proportions and decide where manual cleanup is needed.
Use a sharp image with one dominant subject, clear edges, and enough contrast to separate it from the background. A simple front or three-quarter view is usually easier to interpret than a cluttered scene.
Yes, a phone photo can be a useful reference if it is in focus and the object is well lit. Avoid motion blur, strong reflections, heavy shadows, and backgrounds that hide the object's outline.
A single image does not show every surface, so hidden areas may be estimated or left less detailed. Rotate the model in a viewer, compare it with the reference, and use cleanup or additional references when accuracy matters.
Open it in a 3D viewer or editor and inspect scale, orientation, normals, holes, disconnected pieces, and the underside. If the model passes those checks and matches the visible subject closely enough for your purpose, it is ready for the next stage of your workflow.