Choose a clear JPG
Use a well-lit subject with a distinct outline and as little background clutter as possible.
Image conversion
JPG to OBJ describes a workflow that starts with a JPG reference and produces an OBJ model for further 3D work. Use the image as a visual source, then refine the generated geometry for your intended scene.
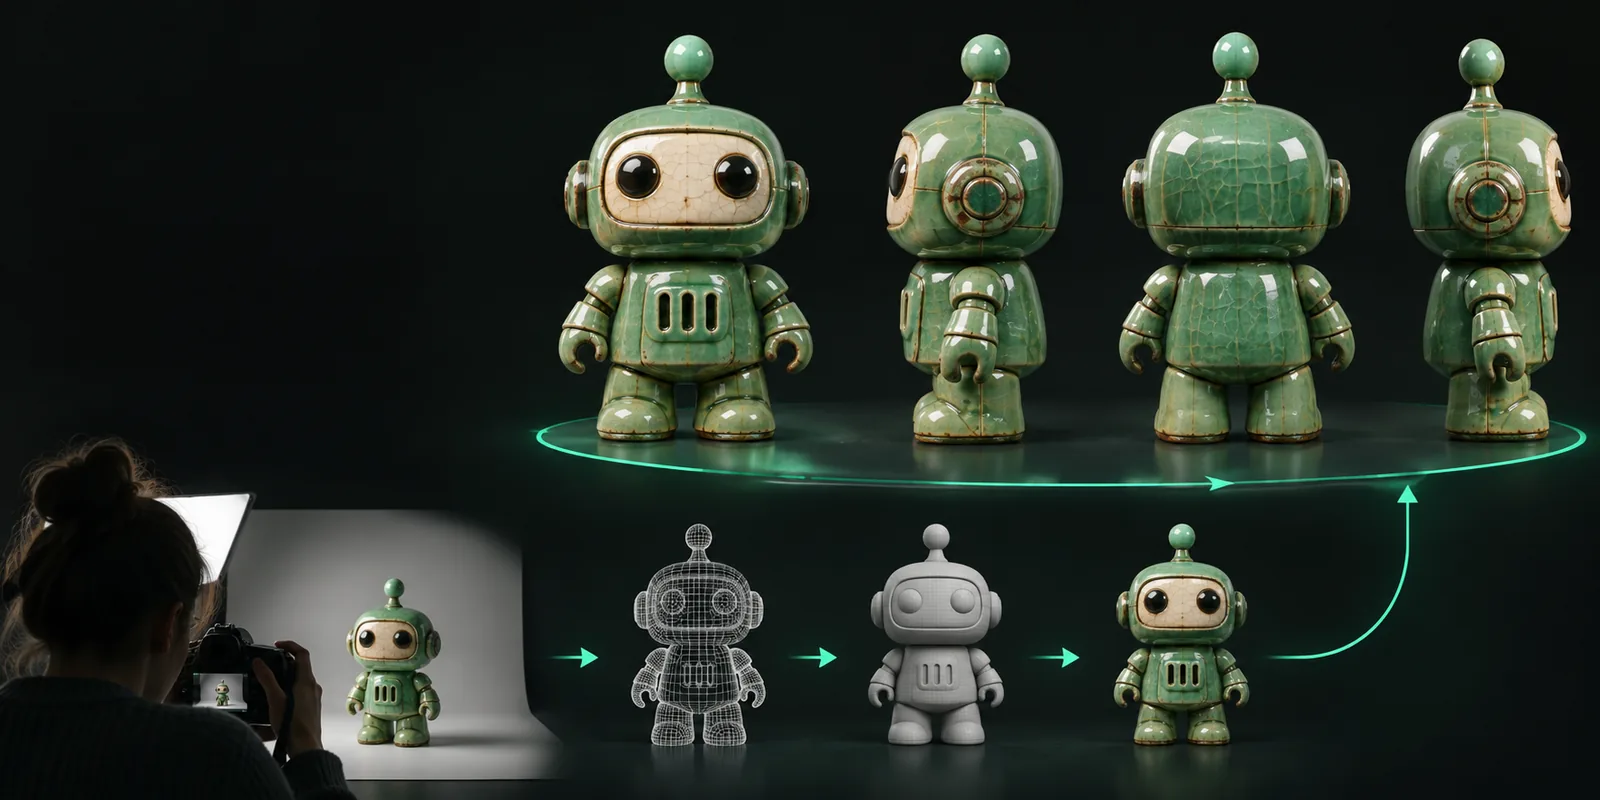
Simple workflow
A JPG is easy to capture and share, while OBJ is easier to bring into many 3D applications. The useful result comes from moving carefully from visual reference to editable geometry.
Use a well-lit subject with a distinct outline and as little background clutter as possible.
State what the image shows and mention details that should remain recognizable in the model.
Check the silhouette, proportions, and visible surfaces before placing the file into a larger scene.
Format guide
The two formats serve different jobs. JPG carries the visual reference; OBJ carries geometry that can be opened, edited, or reviewed in a 3D workflow.
JPG input
Visual reference image
OBJ output
3D geometry exchange file
JPG input
Raster pixels
OBJ output
Vertices, faces, and surface structure
JPG input
Photos, sketches, product references
OBJ output
Modeling, rendering, layout, and review
JPG input
Not stored as true 3D depth
OBJ output
Can represent spatial form through mesh geometry
JPG input
Image editor or browser preview
OBJ output
3D editor, viewer, or asset pipeline
JPG input
Clear subject, useful contrast, minimal obstruction
OBJ output
Check scale, topology, normals, and proportions
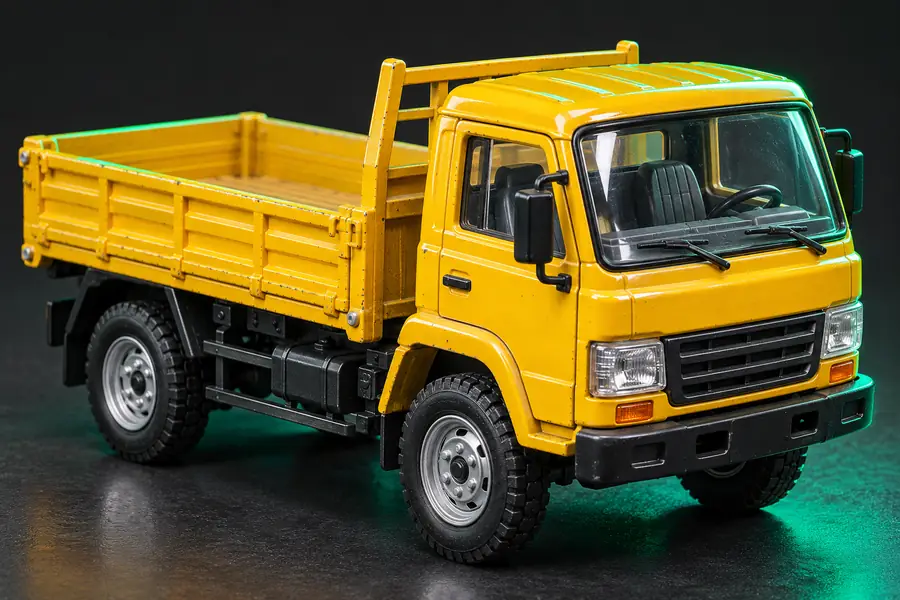
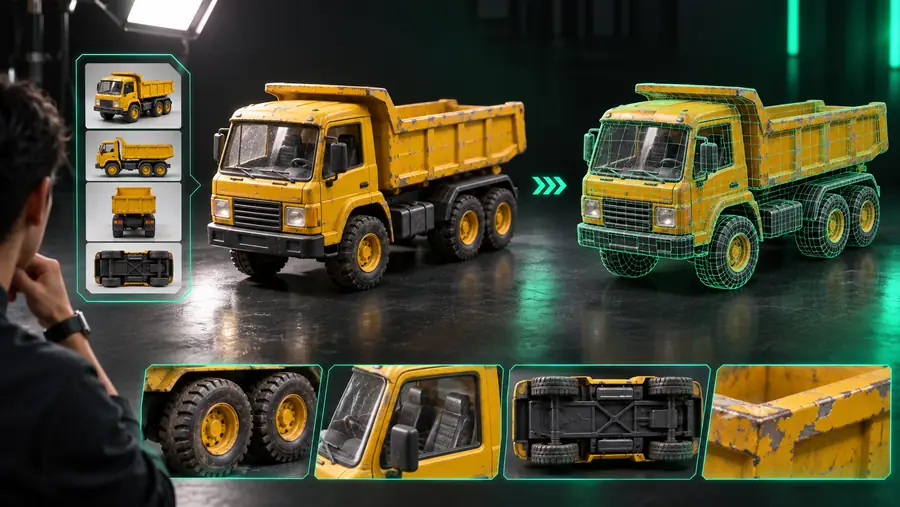
Visual check
A conversion is only useful when the output preserves the subject’s recognizable shape. Compare the source framing with the generated result before making presentation or production decisions.
Drag the divider to compare the source and result.
Practical uses
Different users begin with different JPG references, but each benefits from checking the generated mesh against the original visual intent.
A JPG product photo is used to create a rough asset for early form exploration.
The model supports proportion reviews before detailed CAD or sculpting begins.
png to objA reference image provides the starting point for a prop or scene object.
The OBJ gives the artist a base mesh to inspect, reshape, and texture.
png to objA JPG of a furnishing or decorative object needs a preliminary 3D representation.
The resulting asset can be tested in a layout before final modeling effort.
png to objA familiar object image becomes a practical exercise in mesh inspection.
The JPG-to-OBJ path makes the relationship between an image and 3D form easier to discuss.
png to objBatch planning
Estimate a simple one-for-one review queue by changing the number of JPG references. The calculation shows planned source images and corresponding OBJ outputs, not guaranteed processing time.
Format history
JPG and OBJ came from different parts of digital production: one optimized visual storage, the other practical exchange of 3D geometry.
The Wavefront OBJ format becomes a readable way to describe polygonal geometry between 3D tools.
JPEG image compression helps photographs and visual references move efficiently across digital systems.
Artists and designers increasingly use ordinary images alongside modeling, rendering, and visualization software.
Automated tools can use a JPG as a starting point, while the resulting OBJ still benefits from human inspection and refinement.
At a glance
Start with an image
Bring a clear subject and a specific goal to the conversion step. Then review the OBJ result as a starting asset, adjusting the mesh when your project requires production-level accuracy.
Variant FAQ
These answers address common questions about the JPG-to-OBJ format path and what to expect from the resulting asset.
It means using a JPG image as the visual source for an OBJ 3D model. The JPG contains pixels, while the OBJ is intended to represent geometry that can be opened or reviewed in a 3D workflow.
A clear JPG with a visible subject is generally a better starting point than a dark, cluttered, or heavily cropped image. A single image may not show every side of an object, so the generated OBJ can require inspection and refinement.
It should be treated as a starting asset unless you have verified its shape, topology, scale, normals, and surface details for your specific pipeline. Production use may require cleanup in a 3D application.
JPG is useful when your reference is a photograph or compressed image that already shows the subject clearly. If transparency or lossless image detail matters, the png to obj workflow may be a better fit for that source.