Choose a readable reference
Use a well-lit image with the main subject separated from distracting backgrounds. A visible silhouette and clear edges give the AI more useful visual signals.
AI 3D workflow
An image to obj converter ai workflow helps you move from a visual reference to a usable 3D starting point. Upload an image, describe the result you want, and review the generated asset before refining it.
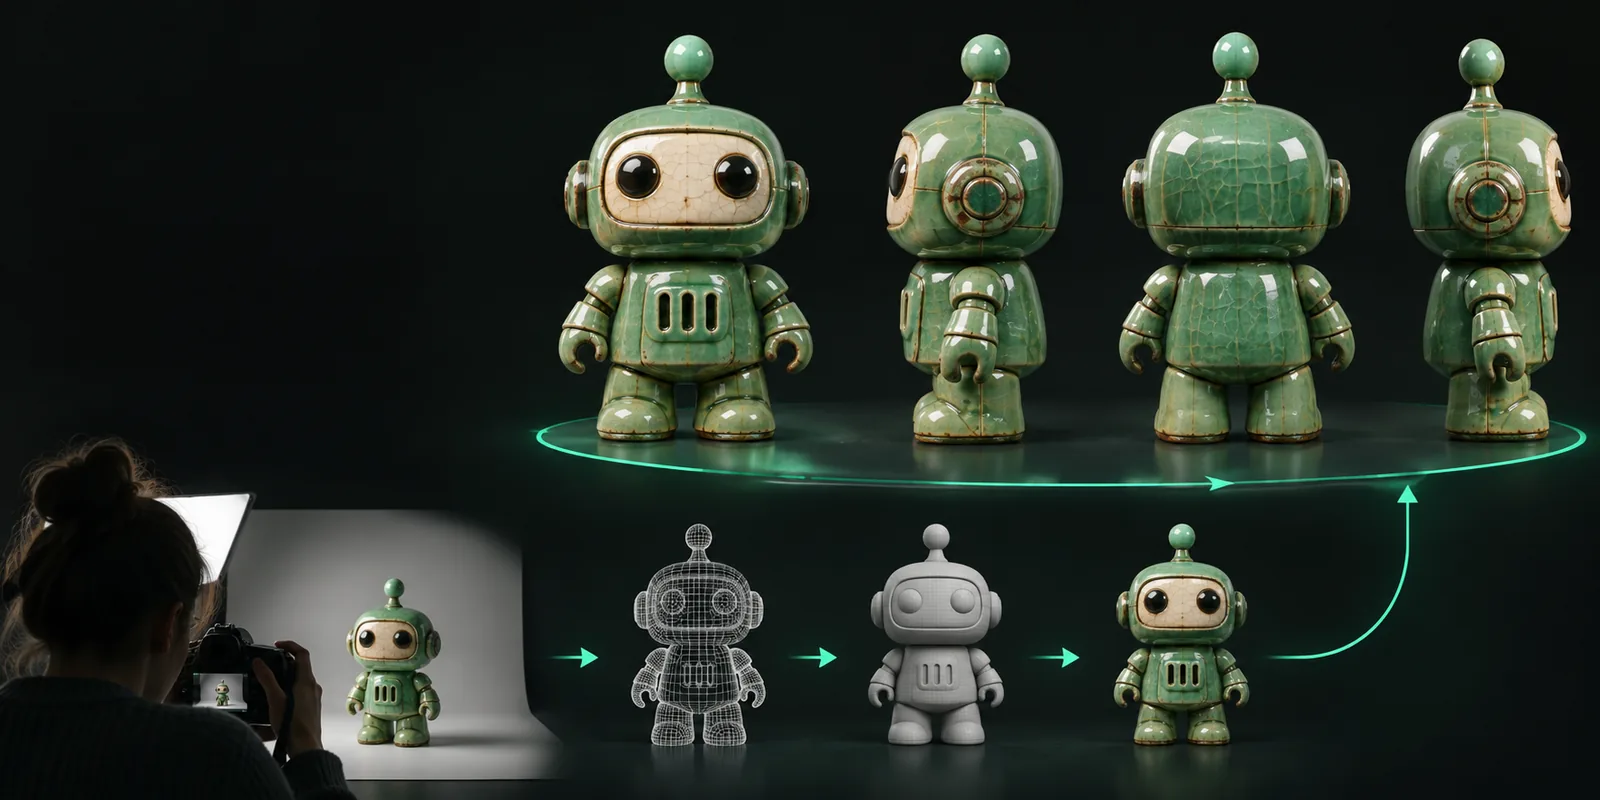
Before you begin
A reliable conversion starts with a clear reference and a specific idea of what the finished object should contain.
Use a well-lit image with the main subject separated from distracting backgrounds. A visible silhouette and clear edges give the AI more useful visual signals.
Describe the object, style, proportions, and important details. Mention whether you want a low-poly prop, a smooth product form, or a stylized character asset.
Check the silhouette, openings, thin parts, and hidden surfaces. Treat the first OBJ as a strong starting point, then refine geometry or materials in your usual 3D software.
From reference to mesh
Here is a practical image to obj path for a small prop, from the first visual reference to a model ready for cleanup.
A designer uploads a front-facing image of a desk lamp and asks for a simplified product-shaped model with a clean base and curved shade.
The result provides a proportion guide for early concept review and makes it easier to discuss form before detailed CAD work.
open the AI model workflowA game artist supplies a creature reference and requests a stylized, low-poly version with recognizable horns, feet, and body proportions.
The generated mesh becomes a blockout for composition, silhouette testing, and later retopology.
try a game-ready conceptA maker uses a clear image of a decorative vase and asks for a rounded object with a stable base and a wide opening.
The model offers a useful starting shape, while wall thickness and manifold checks remain part of the print-preparation stage.
start a printable shapeAn illustrator turns a character sketch into a dimensional reference by describing the pose, major forms, and preferred stylization.
The asset helps with lighting studies, camera planning, and visual development without requiring a complete manual blockout first.
create a 3D referencePrompt patterns
These examples show how a specific prompt can control the subject, style, and details of an image-to-OBJ result.
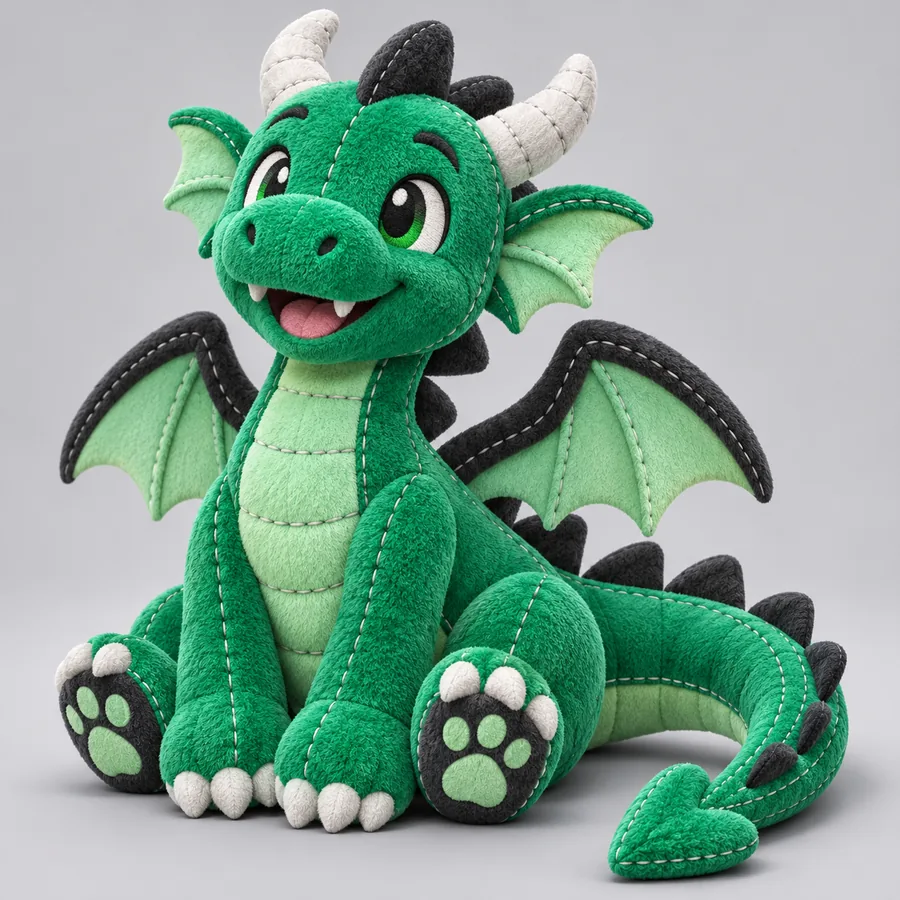 Environment
1
Create a stylized wooden cabin from this reference, with a simple gabled roof, centered door, log-like walls, and a clean low-poly silhouette.
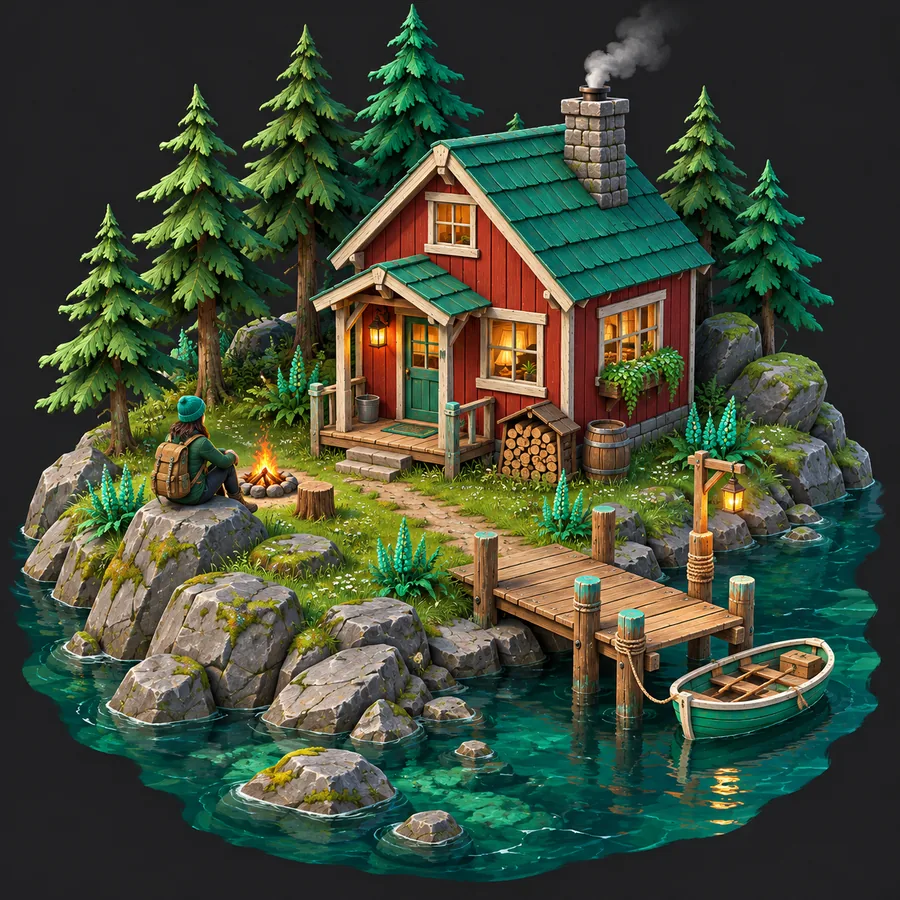 Character
2
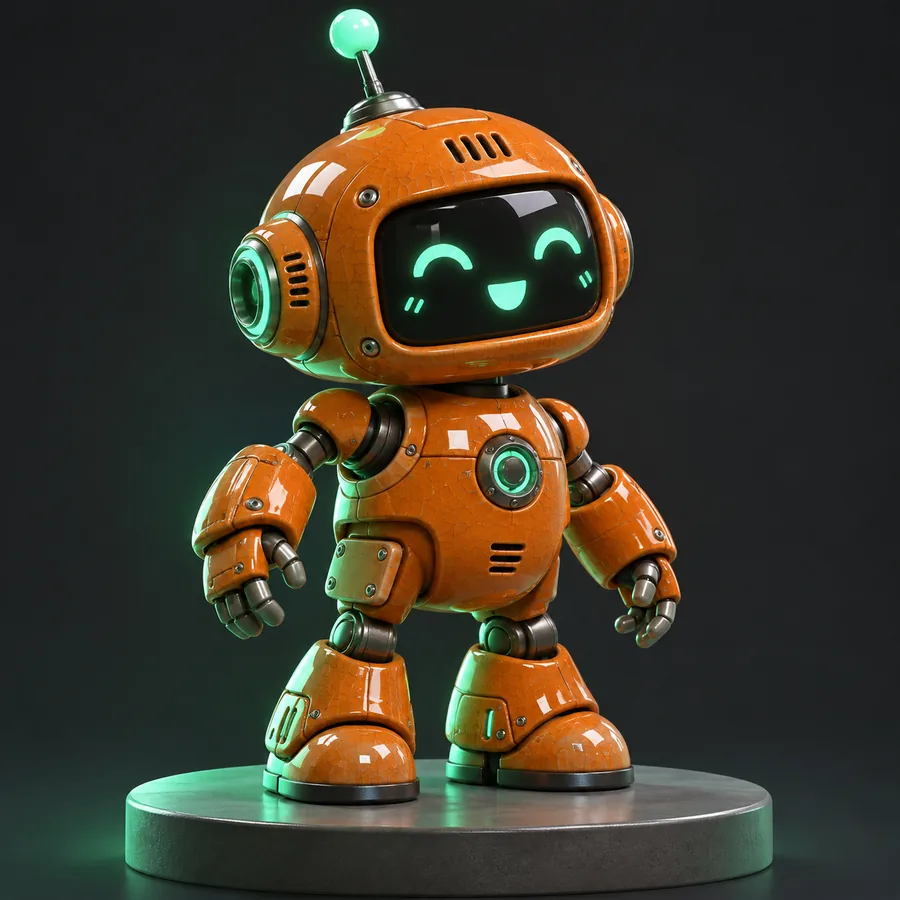
Turn this reference into a small ceramic robot with a rounded body, simple arms, visible panel seams, and a smooth toy-like surface.
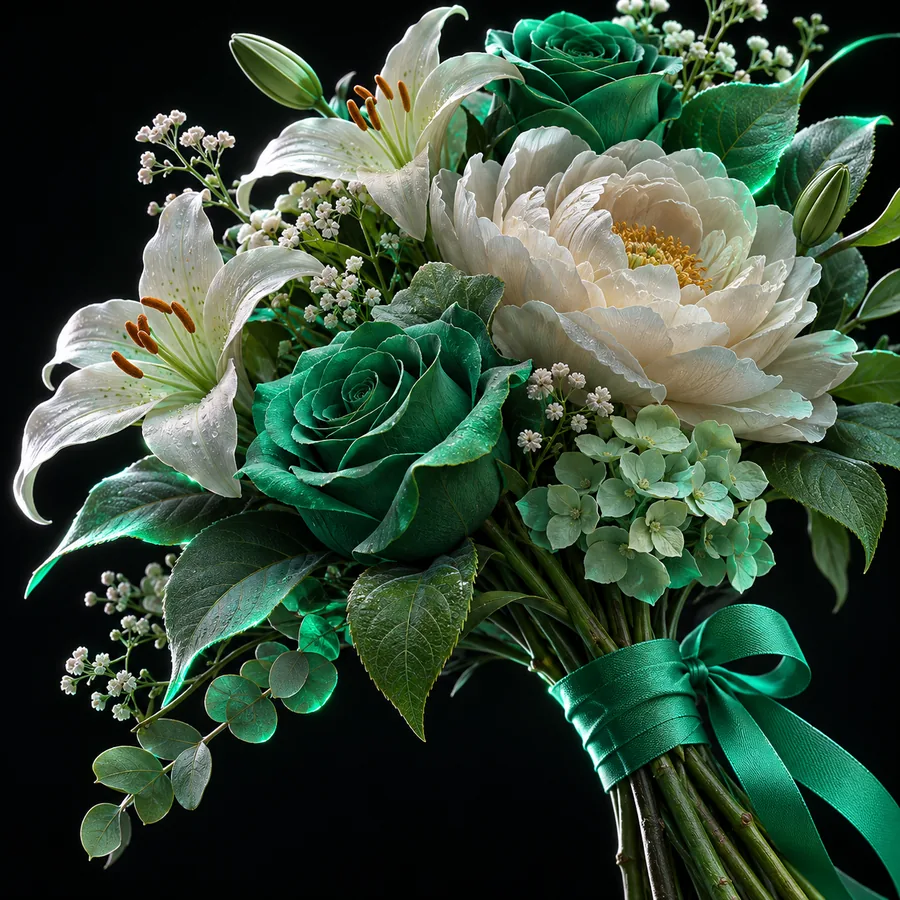 Creature
3
Create a stylized dragon from this image with a strong curved silhouette, folded wings, distinct horns, and simplified fantasy sculpting.
 Prop
4
Generate a rounded flower vase from this reference with a stable base, narrow neck, smooth sides, and a clean decorative profile.
Keep the subject, silhouette, style, and must-have details in the prompt; change one variable at a time when refining.
Choose your outcome
The same reference can serve different audiences. Adjust the prompt around the job the model needs to support, not just the object it depicts.
Use a broad description when you need to explore shape, proportion, or silhouette quickly. The first mesh is most valuable as a visual decision-making tool rather than a final production asset.
For a prop, describe the object’s defining parts and how it should sit or stand. Details such as a base, opening, handle, or repeated panel can make the generated shape easier to evaluate.
Character references benefit from prompts that prioritize pose, body proportions, and major costume or anatomy features. Keep the request focused so the model preserves the identity of the reference.
Capability split
An AI-assisted image to OBJ workflow can accelerate the first stage of modeling, but it does not remove the need for inspection and production checks.
AI conversion
Reference image plus a written description
Manual 3D finishing
Cleaned reference, measurements, or design specification
AI conversion
Rapid interpretation of visible form and style
Manual 3D finishing
Precise control over topology, dimensions, and construction
AI conversion
Inferred from the available visual context
Manual 3D finishing
Designed and modeled deliberately
AI conversion
May require inspection and correction
Manual 3D finishing
Can be organized for animation, subdivision, or editing
AI conversion
Useful for exploring several directions quickly
Manual 3D finishing
Useful for locking a chosen direction with exact edits
AI conversion
Best treated as a starting mesh until checked
Manual 3D finishing
Can be prepared for the requirements of a target pipeline
AI conversion
Concepts, references, blockouts, and early visualization
Manual 3D finishing
Final assets, engineered parts, and tightly constrained deliverables
Bring a clear image and a focused description together in one guided workflow. Review the generated form, identify what needs adjustment, and carry the useful geometry into your next modeling step.
Common questions
Answers to practical questions about choosing and using an AI image-to-OBJ workflow.
It interprets a reference image and a text description to create a 3D object as a starting mesh. The output can help with concepting and visualization, but it should be inspected before use in a production pipeline.
It can produce a useful first version, especially for recognizable props, stylized objects, and blockouts. Final topology, hidden surfaces, dimensions, materials, and print or animation requirements may still need manual work.
Use a clear image where the main subject is well lit and easy to separate from its background. Strong silhouettes and visible defining features generally give the workflow more useful information than cluttered or heavily obscured references.
Name the subject, describe its overall shape, and list the few details that must remain visible. Add the intended style or use, such as low-poly prop, smooth product form, or stylized character, then refine one aspect at a time.
Not automatically. Check scale, manifold geometry, wall thickness, topology, joints, and other requirements for the intended use before treating the mesh as print-ready or animation-ready.