1
Data type
PNG source
Raster pixels
OBJ result
3D geometry and surface references
Image conversion
PNG to OBJ workflows turn a flat reference into a model you can inspect and refine. Start with a clear subject, then review the result before using it in your project.
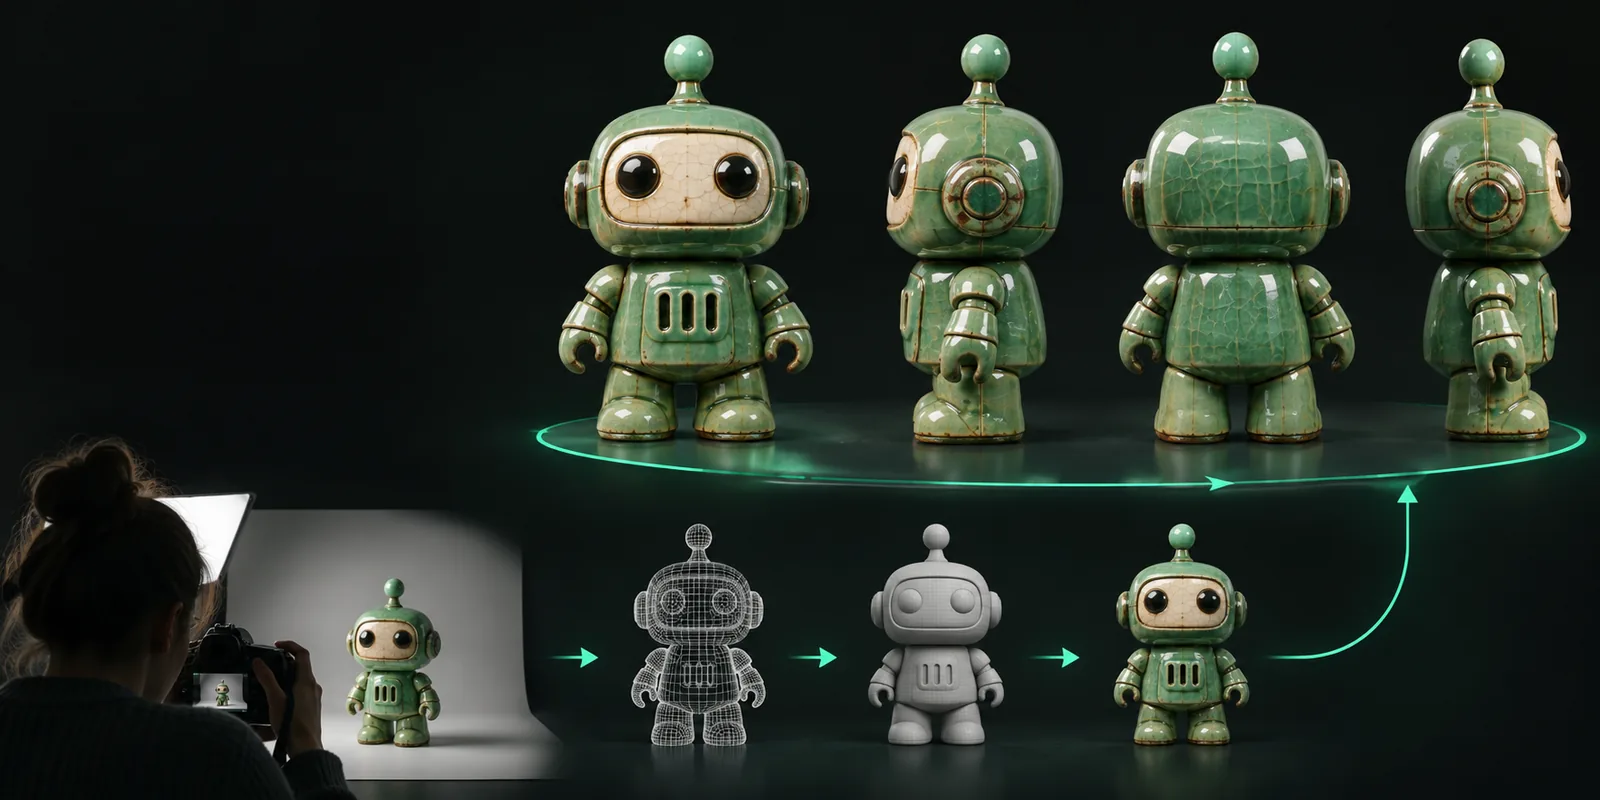

Format comparison
A PNG stores visible pixels, while an OBJ describes three-dimensional surface data. The comparison below shows why the output should be treated as a model draft, not a pixel-for-pixel copy.
Drag the divider to compare the visual reference with the generated model.
Format facts
The source image contains appearance cues that do not automatically become reliable geometry. Use this side-by-side view to set expectations before inspecting an OBJ file.
PNG source
Raster pixels
OBJ result
3D geometry and surface references
PNG source
Shown through shading and perspective
OBJ result
Estimated or reconstructed from the reference
PNG source
Stored directly in the image
OBJ result
May require a separate material or texture workflow
PNG source
Not available from one view
OBJ result
Usually incomplete unless additional views guide the result
PNG source
Image dimensions in pixels
OBJ result
Scene units need to be checked or assigned
PNG source
Pixels can be retouched
OBJ result
Vertices, faces, normals, and materials can be edited
PNG source
Directly visible in the frame
OBJ result
Depends on the reconstructed mesh
Tool preview
Use a focused reference and a specific object description, then compare several output types before choosing one for further cleanup.
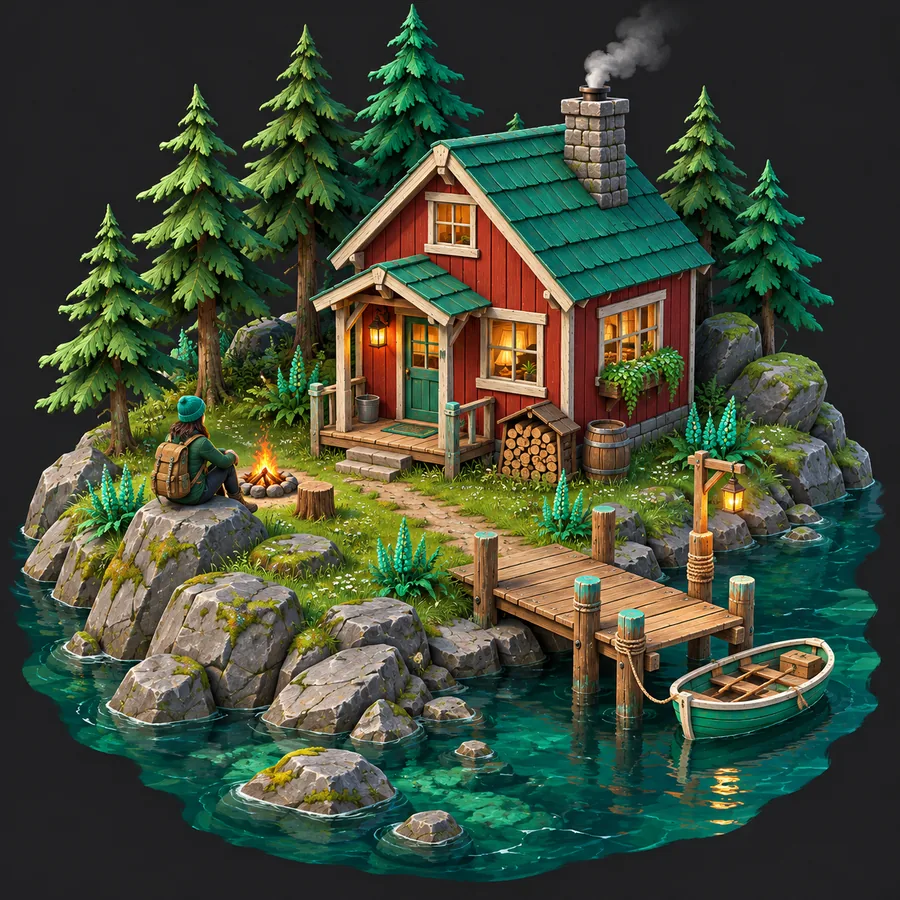
 Architecture
 Character
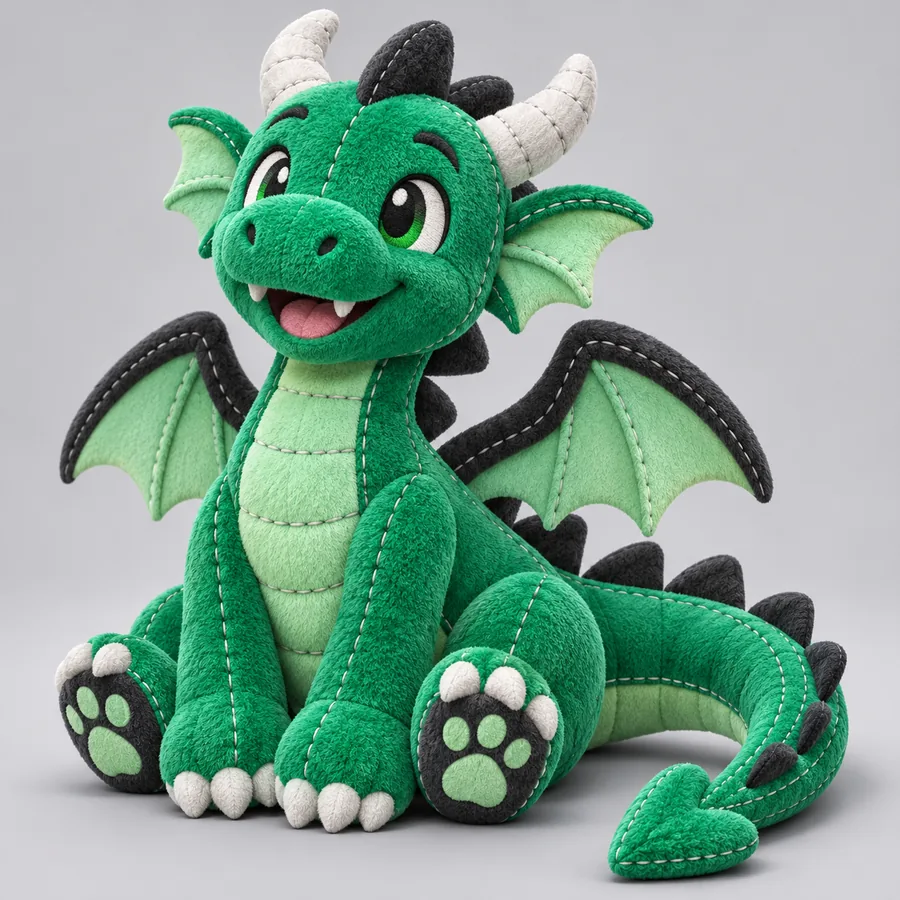
 Creature
 Object
Practical uses
Different users need different levels of control after conversion. These paths help you decide when a reference image is a useful first step and when extra modeling work is expected.
You have a front-facing product render and need a rough form for early layout studies.
Use the result to test proportions, camera angles, and placement before detailed CAD work. For a different source format, see jpg to obj for a comparable workflow.
jpg to objYou want a concept creature or prop to block out in a scene.
Treat the model as a starting mesh, then inspect topology, scale, and hidden surfaces before retopology or texturing.
image-based conversionYou have a clean PNG of a simple object and want to explore it in a modeling tool.
Choose a centered subject with strong contrast so the silhouette is easier to compare and refine.
another image formatWorkflow
A quick inspection catches the most common problems before the file moves into a larger scene or production workflow.
Rotate the model around the main view and compare its outline with the PNG. Look for missing edges, unwanted bulges, or a shape that only works from one angle.
Open the OBJ in your preferred 3D application and check for holes, flipped normals, disconnected pieces, and unexpectedly dense or sparse areas.
Set a sensible scene scale, review the material or texture references, and test a simple light before exporting the model to its next workflow.
Prompt examples
These examples show how a precise subject, viewpoint, and surface description can make the intended output easier to judge.
Cabin
1
A small wooden cabin in a forest clearing, stylized 3D asset, centered view, simple geometry, neutral background.
Robot
2
A friendly ceramic robot figurine, rounded body, simple limbs, studio lighting, centered full object, clean neutral background.
Dragon
3
A stylized dragon creature as a single 3D character asset, clear silhouette, three-quarter view, neutral background, moderate detail.
Vase
4
A simple ceramic flower vase, symmetrical profile, smooth surface, centered product view, soft studio lighting, neutral background.
Keep prompts focused on one subject, one viewpoint, and the surface qualities you need to inspect.
Next step
Bring a focused PNG reference into the conversion workflow, then validate the silhouette, mesh, scale, and materials before building on the result.
Variant FAQ
Yes, a PNG can serve as the visual reference for creating an OBJ-style 3D model. The result is an interpretation of the visible subject, so it should be checked before use in a larger project.
PNG can preserve transparency and avoid additional lossy compression, which may help when the subject has a clean edge or isolated background. The quality of the source image and clarity of the subject still matter more than the extension alone.
A single PNG usually shows only one view, so hidden surfaces, true depth, and real-world scale may be uncertain. Expect to refine or rebuild parts of the model when accuracy on every side is important.
Open the file in a 3D viewer or modeling application and rotate it around the subject. Check the silhouette, holes, normals, disconnected geometry, scale, and any material or texture references before continuing.